Wednesday, April 30, 2014

Lunch Time!


I decided to serve our first sit down meal today! I grilled chicken and brought it down to the house to surprise the guys, especially because I was a slacker yesterday and didn't come down to the house to work. Shame on me! So this is me making up for it. It's not everyday you have a miter saw as a centerpiece on a table, but there you have it. And it fit the mood just right!

Wednesday, April 16, 2014

Rescued!

Staring fear in the face...off to the side!
As I have already stated I hate the scaffolding that is currently standing like a drunken behemoth of a bastard in the living room. It's not that I hate all scaffolding (I don't think) but we never did find the instructions to put it together per factory recommendations, and it scares the bejesus out of me. But I still had to paint the insides of the skylights and so...I rather un-elegantly made my way up onto it to prime them. (If you'd like further clarification on "unelegant" I suggest you ask Eduardo.)
It's hard to explain to someone who wasn't there, but everything about it just seems wrong. It's not nearly as stable as it looks. To be fair the guys have been all over it, and it has rocked back and forth under their weight and not collapsed, and they have been perfectly fine. But....
I didn't want to go up there. I loathed to go up there, but I finally managed to do so and that is a feat in and of itself. What? You try moving when every muscle and tendon in your body is as tight as a bow string I tried my best not to move too much but the goddamned son of a motherless son of a....triscut (I'm trying to keep this PC so Gram doesn't have to swear so much when she's reading aloud:), kept moving in the most anti-evolutionarily acceptable ways! It's no wonder our ancestors left the treetops. It's not safe!
I know that the guys said it was fine, and I know that they were up there and survived. But upon reading the "DONT'S" on the side of the apparatus, I was already aware of the fact we were breaking at least two of them, and there was a pile of support bars on the floor that we never did find a use for. What exactly am I supposed to make of that? I like to push my boundaries, but I don't have a death wish.
Anyway, I made it up there a total of three times. They were all awful and I didn't enjoy them at all. And Eduardo had to help me down which I am sure was entertaining. But on the last day, when I had to final paint them Dad stepped in and offered to finish off the job! WooHOO! Rescued! Of course I didn't say no. So I was saved at last. The skylights are done and I am done with the scaffolding!

Rescued by Daddoo!

Speak to Me


We have these built in speakers in the ceiling at the house. I wanted to get rid of them. But they guys seemed to think they were pretty cool, so majority ruled, and they stayed. But they were black and they needed to...not be black. So I made a project of it. And I learned two very important facts:
1.) You will never find more across-the-board miserable retired men anywhere than in a Jo-Ann Fabrics store at 10:15 AM on a Wednesday morning, and
2.) You cannot spray paint speaker fabric, no matter how many cans of spray paint you use.
Clearly spray painting didn't work. I wish it would have, because it would have been super easy and would have made me feel less bad about all the fumes I inhaled. It turned out I needed to cover them. Thus the trip to Jo-Ann's. The only problem was the fabric I bought wasn't opaque enough to cover the speakers to the point that you didn't notice that I tried to spray paint the shit out of one of them and left the other one untouched. SO I had to get more fabric and try again. I am learning that remodeling requires an amount of patience that I find both uncomfortable, and annoying. I'm also learning to take a breath and carry on.
I used a glue gun to glue the material onto the existing frame (twice as it were), over the original speaker fabric, and it worked pretty well I think. I still have a little finishing up to do on caulking and so forth, but as long as there isn't a short in the speaker wire on the one that is shellacked with two cans of flammable spray paint, I think we are in good shape!
Ta Daaaaa!
There was honestly no way to make this photo look more interesting.


Mens Work


While I have spent the last epoch painting the house, the men have been hard at work doing...well, pretty much everything else. In my narrow view of the house, there is not much besides priming and painting (which I am realizing makes for a pretty boring blog), but there is SO MUCH else going on!
The guys have been putting up cement board in the bathrooms, drywalling, installing new windows, and a myriad of other things. Every time I turn around there is some ungodly noise, a huge mess involving bits of insulation, extension cords everywhere, and someone holding a saw that looks like it came straight out of a horror movie. And as you'd expect, they appear to be having the time of their lives.
I sometimes get bogged down in the painting, and I play it up like it's hard work. And it is. For me. But compared to the stuff the guys are doing...well, it's pretty tame.
Unfortunately I don't know exactly what has gone all into the the tasks they have been tackling, but I was at least able to snap a few photos to share!


My contribution: Testing out the bathtub


Yard Work

The master plan...
Last week I was down at the house working by myself and the weather was just too nice to stay inside painting. So I decided to do a little yard work. With some suggestions from Mom, and trying to stay within a reasonable budget, I did a little (and I do mean little) makeover of the front of the house. I rounded it out with planting a little grass seed for all the birds to eat (sarcasm) and raking the front yard.
I got some azaleas, which are "deer resistant". I didn't even know there were deer resistant plants, nor would I have thought to consider that when purchasing my plants, but...welcome to Michigan I guess! Mom was the one who keyed me into the fact that I probably don't want to spend $100 buying tender, delicious deer snacks for the front yard. I got 5 of them. I also got 8 bags of red mulch to make everything look nice, some pruning shears and a lilac tree (actually it looks more like a twig at this stage) from the neighbor across the street. It cost me an hour and a half of my life that I will never get back. But at least I got something out of the eternal chat I had with my new neighbor.
I decided not to tear out the scrubby bushes that were already there because a.) I hate to kill a living plant no matter how unsightly or hideous, and b.) it saves money by using what is already there. I have hopes of getting a nice tree to put in the corner by the rock, but as of right now I haven't found one that isn't way over budget. I'm going to keep looking though. Here are my before and after shots. Mind you it's not much. Dad came to the house and didn't notice until after an hour of walking in and out. LOL.

Before

After

I kept the bushes that were already there.

I planted grass in the foreground

My little lilac bush...tree...whatever!

Pruned the bush...LOL.

Wednesday, April 9, 2014

Bathrooms


We are finally beginning to put the bathrooms back together! We had to rip out most of the walls to get at the broken pipes, so upstairs in the master bath we had to pull out the vanity and all the shower walls. Downstairs, in the main bath, we had to pull out all the walls and the ceiling to get at the pipes for upstairs as well as the ones in it. But now we are starting to rebuild. I say we, but I mean Dad and Eduardo. I am still painting. Anyway, they put in cement board around the tub and the lower part of the shower, to help protect againt moisture issues. Then we got a special kind of drywall that is green, and has a vapor barrier built in to sill out the upper parts of the shower and the rest of the bathroom downstairs. It seems like it would be a simple task of putting up drywall, but there are lots of things that go into it. You have to make sure you know were the studs are to screw the boards into. You have to cut the boards so they fit the walls and have openings for pipes and electrical outlets. You have to make sure they are flush with each other so you don't have wavy, uneven walls. Then they have to be taped and all the seams and screws have to be covered with spackling, and then sanded. That has to be done several times to get it all right before you can paint. What a process hu?
Before this remodel, I thought adding, or moving a wall was a relatively straightforward, quick process. Now I know better. And this is what I think when I am not even the one actually doing the work!


High Places


We were lucky enough to be able to borrow some scaffolding from Uncle Jack. We need it to work on the ceiling and skylights in the living room where the ceilings are about 30' high. The thing is, there was some debate on how to put it together. And by "debate" I mean that none of us knew how, or had any instructions. After some deliberation Eduardo, Dad and Uncle Jack decided on an arrangement that seemed pretty stable. And they were happy with it. Eduardo climbed all over it, and it appeared to be safe enough. Technically it can't fall over since the height of the thing exceeds the length of the room it's in. At worst it could only fall half way and put a few huge dents in the wall, or perhaps crash through into the bathroom.
Anyway, here is my problem. I am supposed to get it and sand the ceiling and paint. And while I can appreciate Eduardo's intrepid spirit, I am not so sure I want to risk my life climbing out on something that may, or may not, be put together correctly. I'm sure it's fine, but the whole thing just seems so....sketchy to me. Dad and Eduardo thought it was pretty funny that I was comfortable scuba diving at night, but am afraid to scale a little scaffolding. I reminded them that I couldn't fall to my death while diving. They reminded me that there were sharks. I'm still not sure who won that argument. I think it was a stalemate.
Eventually I am going to have to get out there, but in the mean time Eduardo has gone up and trimmed out the skylights, and filled in the drywall in the window well, and they look amazing! It's one of the few things we have finished pretty much completely and I couldn't be happier.


Thursday, April 3, 2014

Before and After: Part 1: Me

I realize that a lot of remodeling blogs probably have more before and after photos than mine does so far, but that's because despite all the work we have been doing, nothing is at the "after" stage yet. Every room either has work left to do in it, or it's filled with crap (i.e. tools, paint, wood, drywall, insulation, ladders, doors) and doesn't look like much. 
But I hate to disappoint, so I thought I'd post some before and after photos of myself, to give you an idea of the things you can expect on a personal level from deciding to undertake a remodel. I realize that some people might think the transition is not a big deal or worth noting, but for me it has been. I'm not the kind of person that is overly concerned with my personal appearance, but that's not to say that I don't care at all about it. And some might say it's a "girl" thing, and maybe it is, since guys generally don't tend to look too much different at work or otherwise, but whatever it is, it is...different. And it's evolved for me as time has gone on.
Before, at work (when I wasn't in the field,0 I was able to dress nice. I did my hair most of the time, and wore makeup and jewelry and (gasp!) accessorized. I even wore heels sometimes just for fun. When we first started working on the house here I wasn't wearing heels or anything but I was trying to be careful and not get too dirty. I came back to the coffeehouse every night, changed as soon as I got in, and washed my clothes, or set out new ones for the next day. I took showers regularly (you can see where this is going). I painted my fingernails, the same as I always did. I put make up on, the same as I always did too.
Fast forward to now and...well, things have changed. Now, it's 6:30 pm and I am still in my work clothes. I feel like I'm just going to have to put them on tomorrow anyway, so what's the rush in getting out of them now? I'd probably sleep in them if Eduardo would let me in bed with them on. (That's a joke. Kind of.) Yep. I'm in the same work clothes I've been wearing all week. I haven't washed them yet either. What's the point? I am wearing the same dirty socks I wore yesterday too. I've bailed on make up. Drywall dust gets stuck in mascara (bet you didn't know that did you?), and the fine coating of dust on my face would cover up any make up I put on anyway. So it's kind of a waste of money to even bother with it. I shower once every two days just on principle, but it's really just a sham since the paint doesn't come out of my hair anyway. I do have nail polish on but it's chipped and looks terrible. 
But what's a girl to do? On TV, the lady remodelers always look nice. They wear cute outfits and actually have their hair done even if it is in a pony tail. But that all must be fake, because I'd never get anything done (or have any money left) if I did my hair every morning and wore cute clothes to work. I'm not saying that I hate my present state. LOL. But at the same time, it kind of feels hopeless and I don't feel like I love it either.  I don't think I take it too far, but I do care about how I look, and I've decided it's pretty much impossible to look nice during a remodel (especially since I go to the gym before I head over to the house!) It's just a waste of time. I have been all over town in these paint covered clothes I am wearing now. And I'm pretty sure that the folks at Home Depot wouldn't recognize me if I came in dressed in anything else. I understand there is a reason for it, and so I'm trying not to let it bum me out too much. But it does take a toll on a person that likes to look nice once in a while. That's all I'm saying. Anyway, see for yourself the before and after photos below. View at your own risk. 
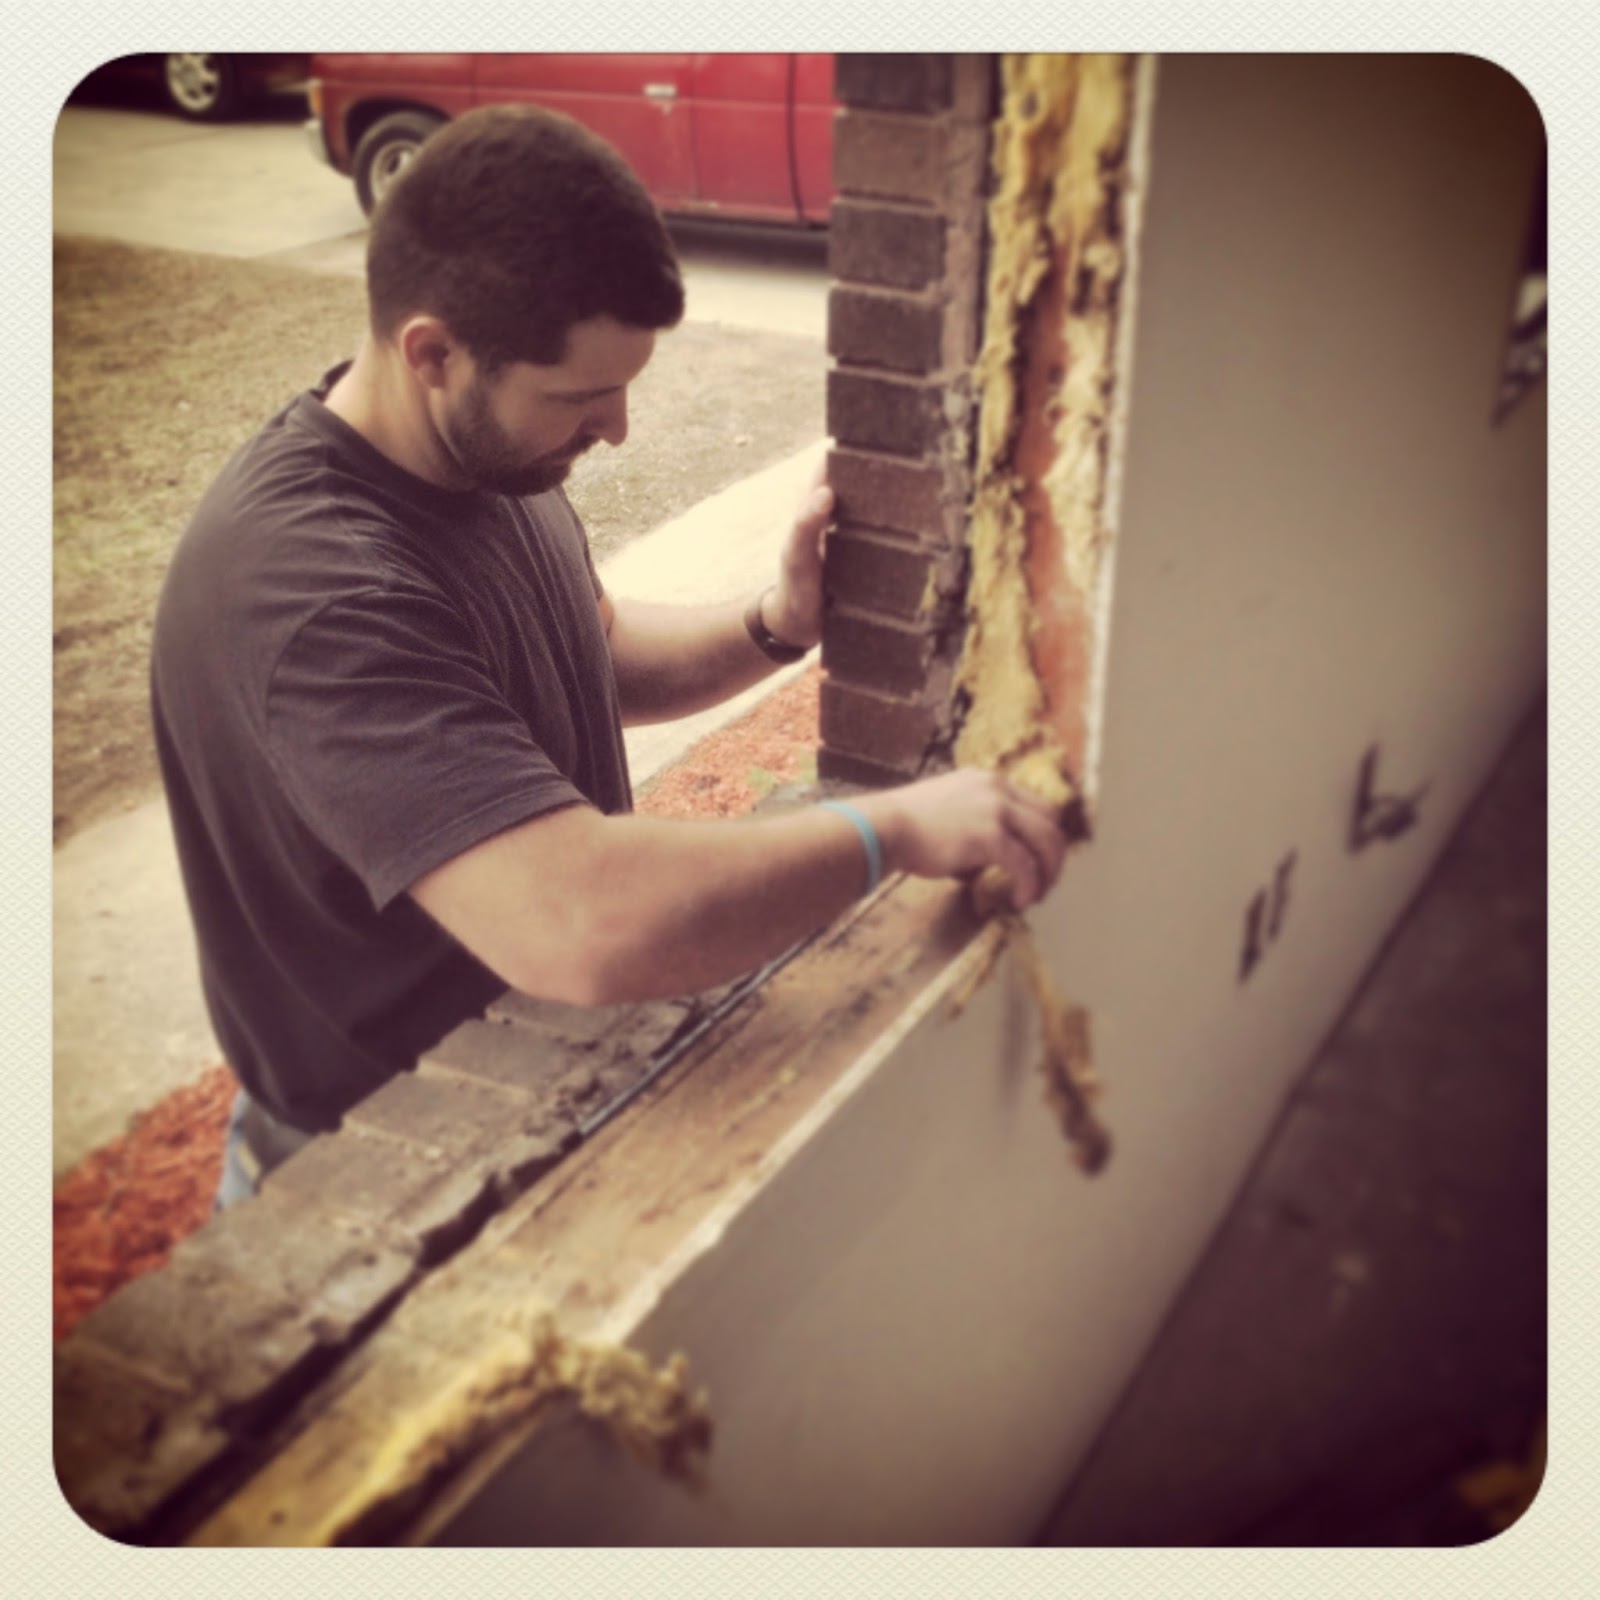
Before :)

After :(

Before :)

Before #2 :)

After :(